Rims and Tires


The first photo shows the original tires, rims and hubcaps as they were when purchased. We came to discover later that the tires were from 1993 so the previous owners had replaced the originals from 1974. Shockingly, we did about 500km’s on the tires before replacing both the rims and tires.
The rims and tires were purchased separately given the unusual bolt pattern that these hubs have from the 70’s. The specific size is 15 x 6 and the measurement is 6 X 139.7 load index 2600. Trailer tires are different than regular car tires so make sure your tires are rated for the appropriate use. There is also a newer numbering system for modern trailer tires (even from 1993) so you will need to find a modern tire equivalent to your old ones. For this 24 ft trailer we used ST205/90D 15.Paint


For best results, the original paint must be removed prior to priming and painting your new coat. For this, we use airplane stripper. You can purchase it at most hardware stores, but handle with care as it is extremely corrosive. Apply it liberally with a brush and let it sit for about 15 minutes. The paint will bubble and then can be just scraped off with a plastic scraper as seen in the photos. You may need to lightly sand off some of the more stubborn areas particularly around seams or rivets. Hose it down with water after each scraping and repeat the process until it is largely free of the original paint.


This trailer suffered significant damage to the aluminum at the rear. Small dents can be hammered out lightly with a rubber mallet but serious damage will require Bondo. Bondo is used in automative body work to fill a dent or tear without having to replace and entire panel on a vehicle. Fortunately it works great on aluminum too. Begin by gently tapping out as many dents as possible with the rubber mallet from inside. Next, apply the Bondo as smoothly as possible, but don’t worry if it isn’t perfect, we will sand out the imperfections later. At this stage, things will look a lot worse before they look better. Use a fine grit sandpaper to smooth out the Bondo until it takes the shape of your panel. This can take many passes with the sand paper so be patient.


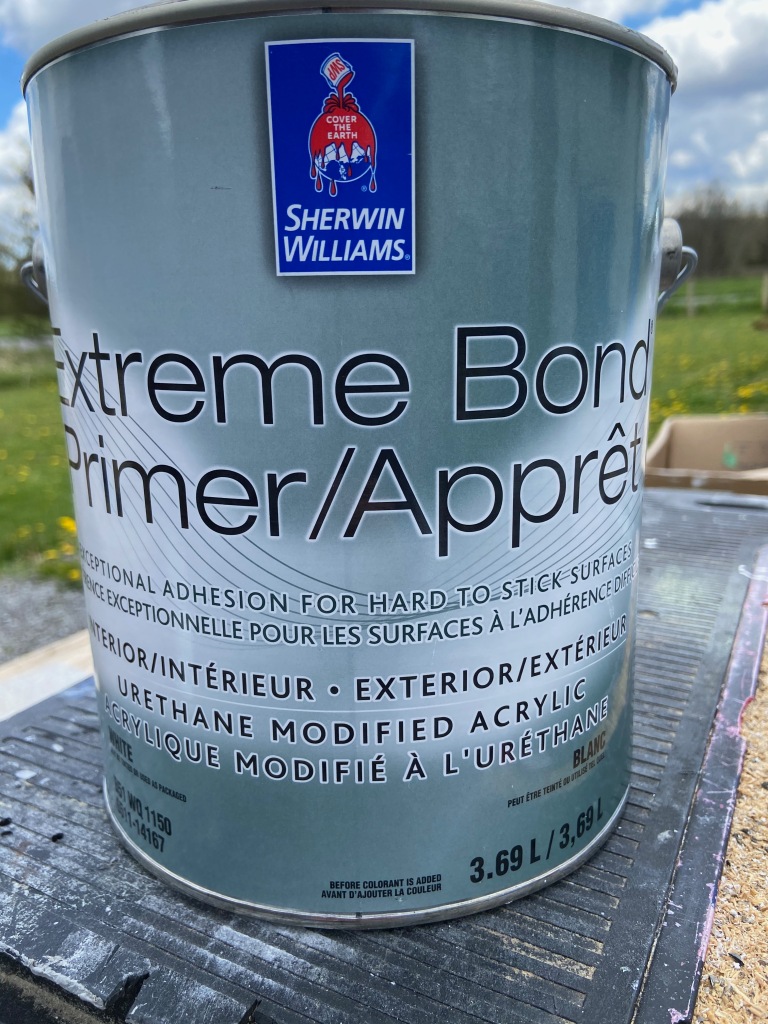
Now it is time to apply the primer. See the first photo for the specifics of what to use. Apply evenly with a roller. I recommend 5 coats for maximum coverage.


When the primer has dried, apply the main coats. We chose a two tone look and did four coats of each colour. We painted the bumper, hitch and trim pieces bright white with Rustoleum oil paint and riveted the trim back into place to give a clear division of colour through the middle. Again, the first photo shows the specific paint used.
Awning


The original awning fabric was corroded but the tube and awning arms were still in great condition so we purchased new fabric from Awnlux. The sizing is sold in foot long increments but actually measures several inches less to accommodate the tube. For example, we bought a 14 foot awning but in reality it measures 13.2 feet. Be aware of this before you purchase yours. The install is a bit difficult and ideally requires two people.
Small External Upgrades and Additions


The first photo shows the new shocks installed – part number 00220003 from Out of Doors Mart. These are the updated version of the original shocks that were installed on all Airstream trailers, including modern ones. All hardware was replaced with stainless.
The second photo is one of the 5000lbs scissor stabilizing jacks that I installed at the rear. There is one bolted on to each side of the trailer.
Photo 3: (Note – electrical inlet has since been moved away from water inlets). Having a spigot has proven very useful. We can now use an exterior hose just like a regular house would have – very useful for hosing off sandy feet from the beach before entering the trailer.
Photo 4 shows an external 40 gallon water tank and a platform that I built for it, that remains in the tow vehicle. Onboard the Airstream is a 50 gallon tank but if you need to refill, it is much easier to do so from an additional tank in the tow vehicle, along with almost doubling your initial water capacity. Instead of hauling the entire Airstream to a fill station, I only need to take the truck and can fill the Airstream with this tank instead.
The last photo is a nice shot of our finished project at night. We prefer using a set of rubbermaid stairs rather than the stairs that attach to the trailer, it just gives more versatility when putting up the awning or needing to reach anything else and is easier and faster than storing the attached, fold out stairs.
